Teacher Creature Project:


|
Teacher Creature Project ReflectionIn my project I used Brian Morgan, my physics teacher, and formed his face into a walrus. Some things I used was the clone stamp tool, quick selection tool, the eyedropper tool, the brush tool and of course the eraser. I used a background of a waterfall area in a tropical forest and put Brian the walrus in the front right corner. Then I took my brothers school picture used the quick selection tool to take his face out, copied then pasted it onto the sun, I got this idea from the Teletubbies, a little kids show I used to watch when I was younger. Then to top it off I put tiaras on the head of the walrus and my brother, Laitham. One thing that I found difficult was matching colors to people’s skin tones and textures to the walrus and the sun but after a few experiments I found the clone stamp tool which helped me a lot and made it easier to blend different layers. May favorite part of this project was how we had freedom to be creative and do a lot of things on our own. Also it was cool to see all the pictures that you started with compared to your final project. On digital artist terms something I learned about myself was how I will be able to use this in future projects or just in general to improve something. |
Photoshop Tutorials:
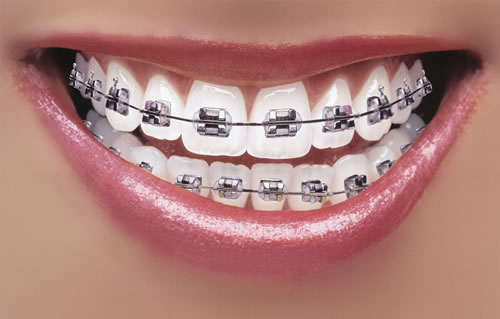
BEFORE
|
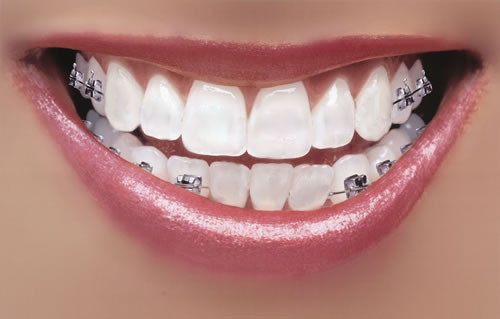
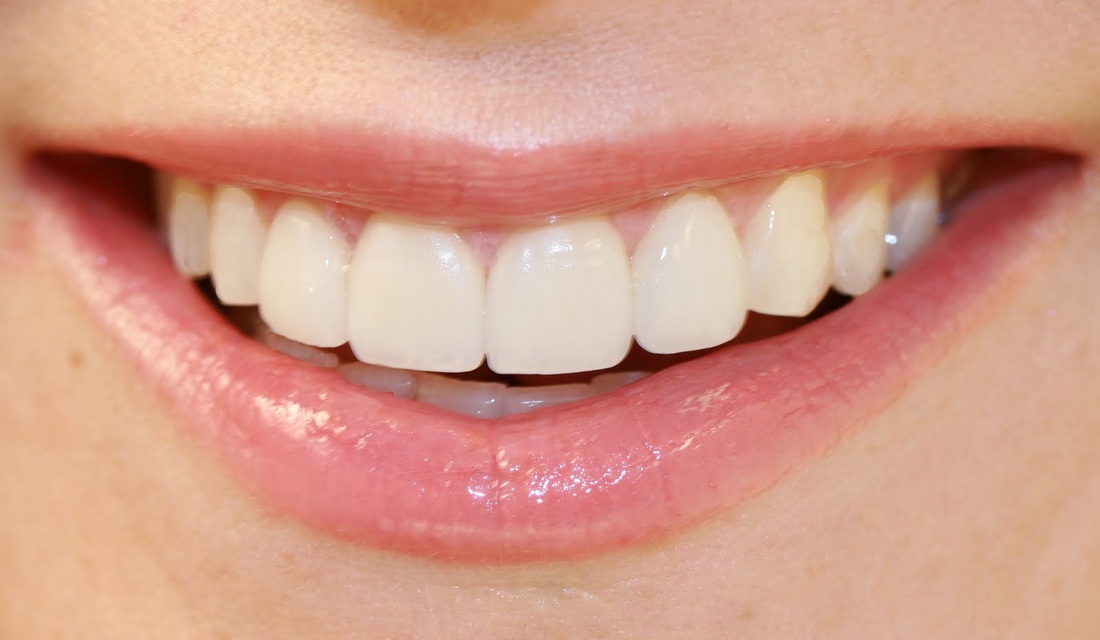
AFTER
|
In this picture I removed braces using the pen tool, clone stamp tool, blur tool and burn tool.

BEFORE |
AFTER |
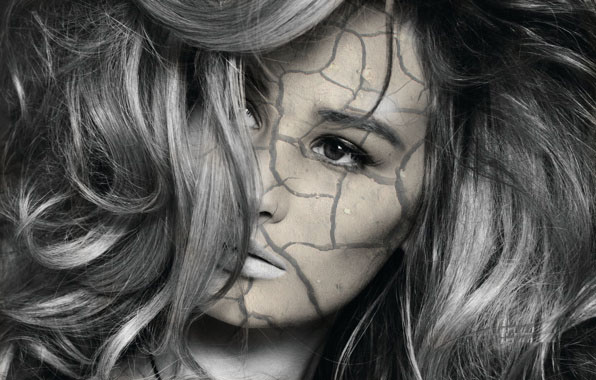
In order to get the cracks on the face I used to different pictures one of a cracked ground and the other is just someones face. I first copied and pasted the cracks on to her face then erased the edges so it wasn't everywhere after that I changed the image settings from normal to multiply so it became lighter.
BEFORE
|
AFTER
|
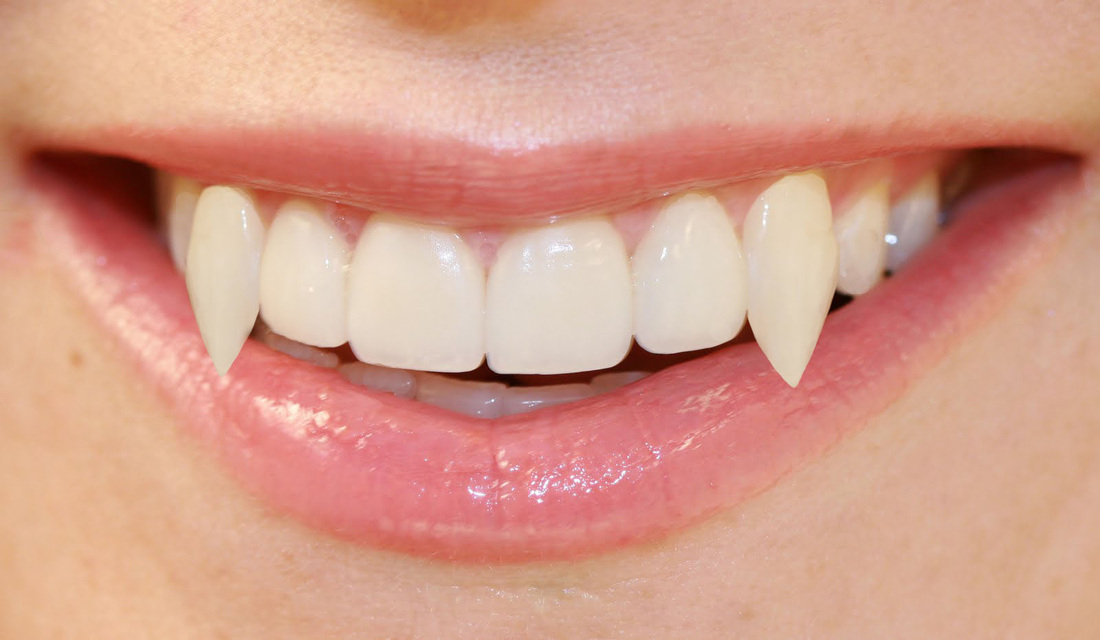
I used the pen tool to outline the canine teeth then warped them so they looked like fangs
BEFORE
|
AFTER
|
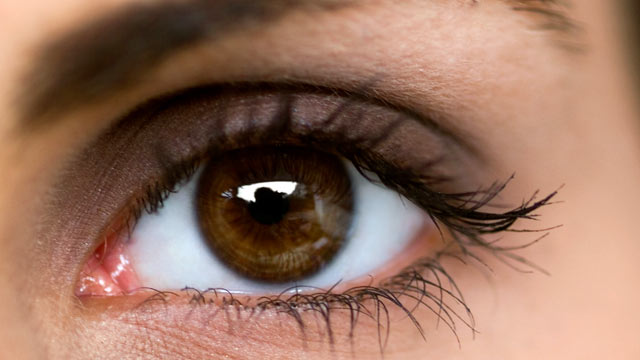
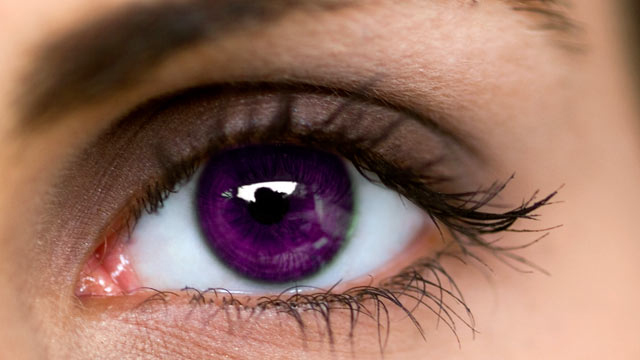
I changed her eye color from brown to purple using the pen tool and altering the saturation.

BEFORE
|

AFTER
|
I changed her hair color by first duplicating the layer and then changing it to soft light. After that I chose the paint brush and pick a color and start coloring her hair. If I wanted the hair's color to be more intense I would change the saturation.
LANDSCAPES:
UNDERSTANDING DISTANCE WITH SCALE AND PROPORTION
UNDERSTANDING DISTANCE WITH SCALE AND PROPORTION
|
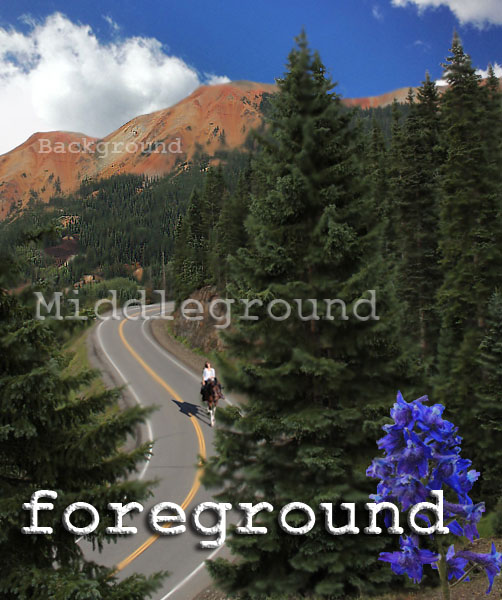
What we did in this project is we took different images from numerous photos in order to form one photo labeled with the foreground, middle ground and background. This was to help and test our understanding of scale and proportion. We learned what each ground in a photo should consist of for ex:
Foreground: large objects, in focus, contrast, color, vibrant, you can see individual parts, texture, value Middle ground: color less vibrant, texture and details blur, large objects appear mid-sized, can still see them as individuals Background: all objects blur together, very little to no contrast, atmospheric perspective, color almost absent When creating this photo some tools I found useful to help me was the quick selection tool, eraser and blur tool. It took me a couple classes to work on this which is why it was important to save it as a Photoshop Document instead of a Jpeg. By saving it as a Photoshop one it allowed to be able to open it up and still have all my layers that I can edit and adjust, as for if I saved it as a Jpeg then it flattens all of the layers together so I wouldn't be able to alter any layers they are all one instead. |
Name Project:
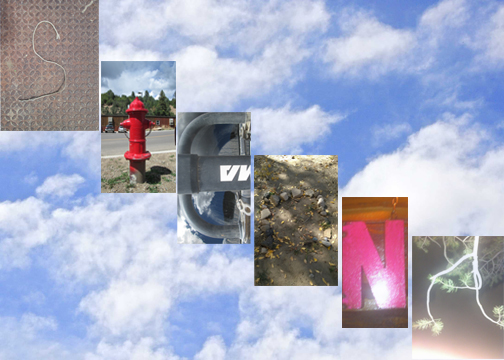
In class we went outside and took pictures of different things in nature and just other things around us that formed letters. We found all the letters that formed our names then edited them and put them on a back ground in Photoshop.
HELPFUL RESOURCES:Free Photoshop Brushes (brusheezy.com)
Free Fonts (dafont.com)
55 Ways to Use Text
100 Ways to Use Text
Youtube Tutorials
Digital Art Online
Photoshop CC Basics: http://jetsetcom.net/useful-resources/photoshop-cc-resources.htm
SHOW and TELL Photoshop Basics: http://simplephotoshop.com/photoshop_tools/index.htm
